Sort by craft, then by supply
Grouping by activity means you can pull one zone and start a project without hunting through the whole room. Within each activity, sort by supply type: all the ribbon together, all the brushes together.
Supplies shared across crafts, such as scissors, adhesives and cutting mats, get a central "common tools" zone next to the work table. This keeps duplicates down and stops tools from migrating.
- Sewing and fabric: fabric folded by color, notions in a divided box, patterns in file folders
- Paper crafts: paper stored flat by size and color, stamps on shallow shelves
- Painting: paints grouped by type, brushes upright, palettes and canvases on a rack
- Yarn and fiber: skeins in clear bins or cubbies by weight and color
- Kids' crafts: washable supplies in a separate, reachable bin
Choose storage that shows you what you have
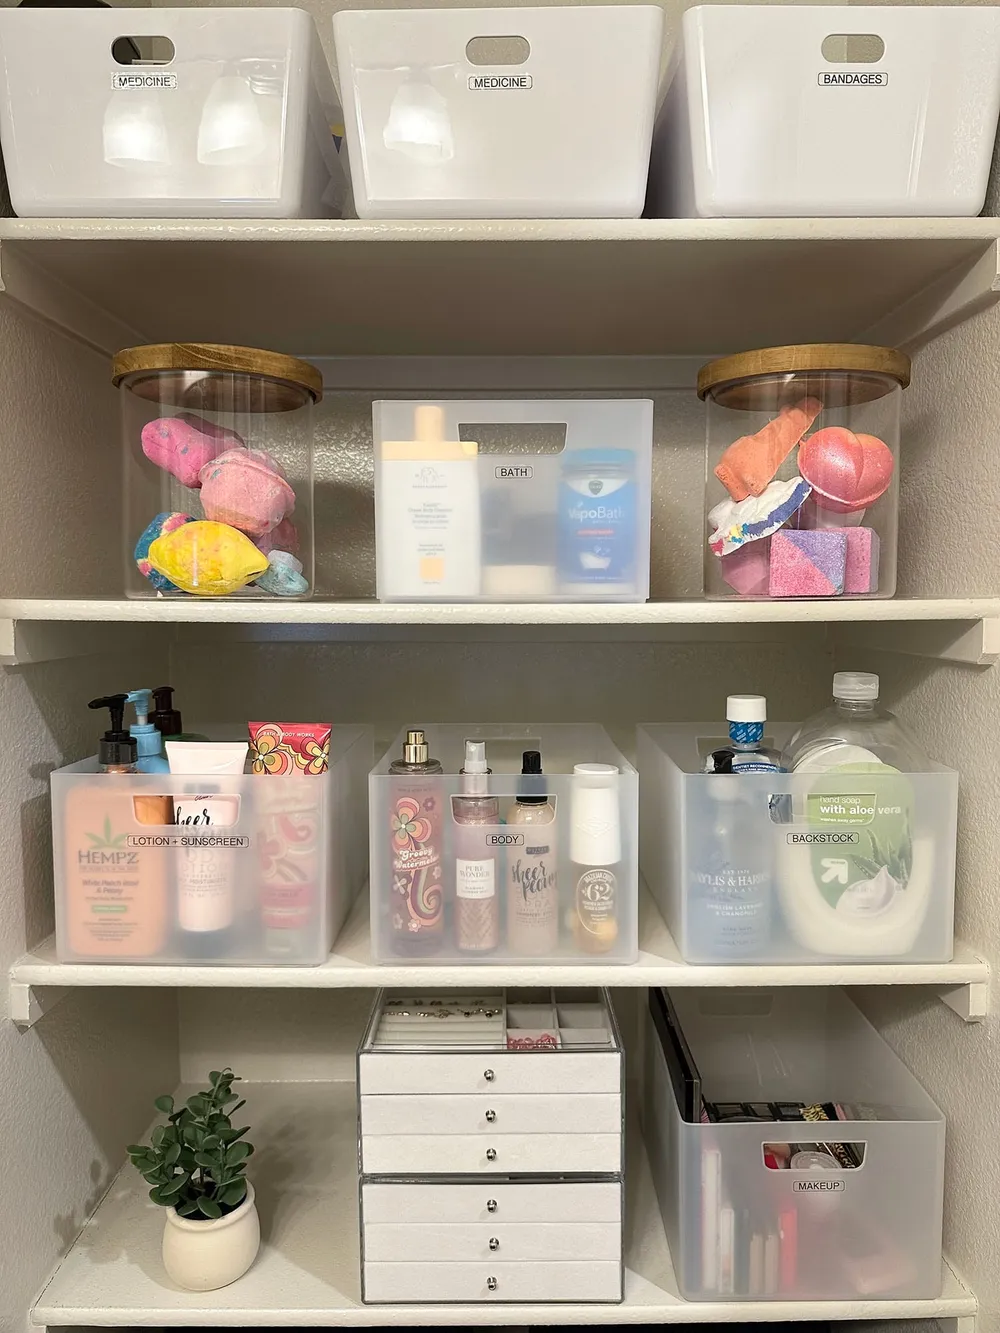
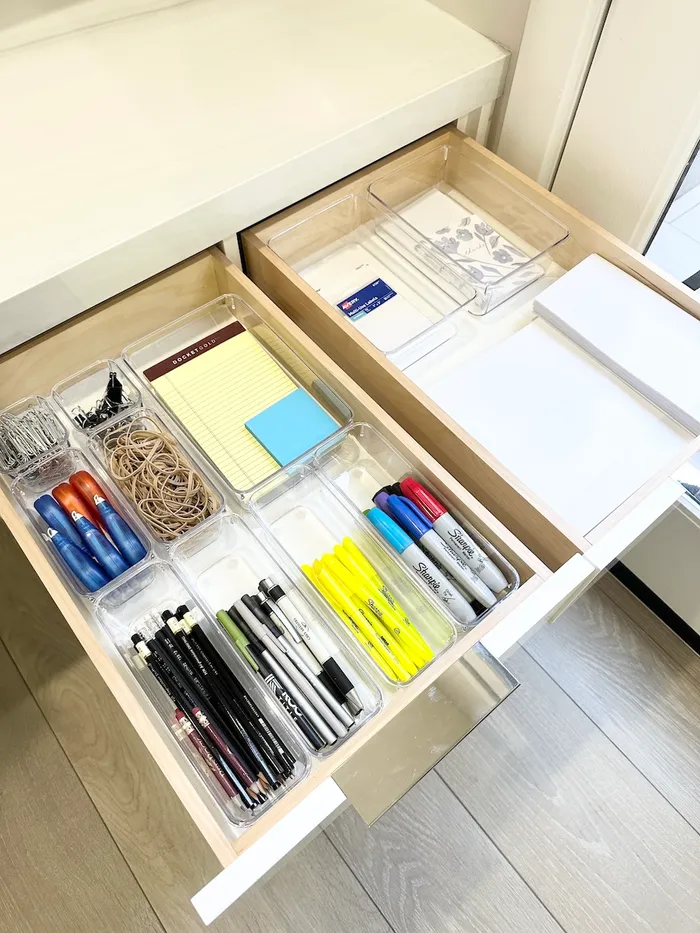
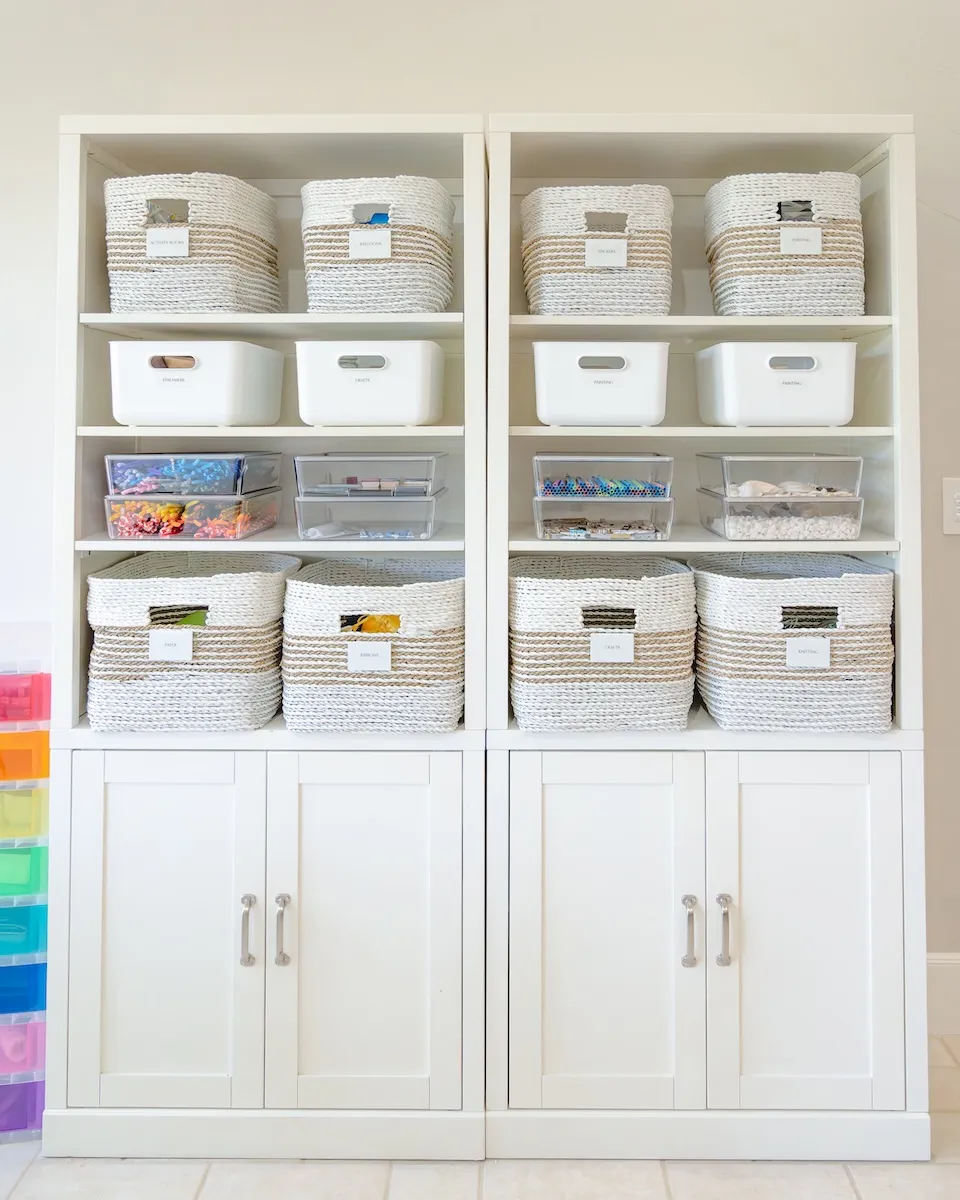
Craft supplies get rebought when you can't see what you already own. Clear bins, small drawer cabinets, pegboard and open cubbies make the inventory visible.
Label every container even if it's clear; labels make returning items faster than recognizing them. For a deep look at container choices, see our comparison of clear bins vs. baskets.
Step by step
- Gather every supply
Pull craft items from every room, closet and garage shelf into one place.
- Edit honestly
Toss dried paint, broken tools and supplies for crafts you no longer do, and donate usable extras.
- Sort by activity
Make a pile per craft, then split each pile by supply type.
- Contain and label
Choose clear, labeled containers sized to each group.
- Set up the work surface
Clear the table and position common tools within reach of it.
- Create project bins
Give each work in progress a lidded bin with its supplies.
Protect supplies from heat and dust
Many craft supplies don't tolerate desert heat. Acrylic paint can thicken or separate, glue sticks and hot-glue sticks soften, resin and polymer clay can begin to cure, and markers dry out faster in hot, dry air. Store them in an interior closet or room, not the garage or a hot car.
The same dry air that dries markers also carries fine dust, which settles on fabric and paper. Lidded containers for fabric stashes and flat files or closed drawers for paper keep supplies clean.

Plan for works in progress
A clear table is the most valuable part of a craft room, and unfinished projects are what covers it. Give each active project its own lidded bin or tote with everything it needs, and limit yourself to two or three at once.
When a project is done or abandoned, the bin returns empty to the shelf. That small habit keeps the work surface free for whatever you start next.
Make a craft corner work in a small space
No dedicated room is needed. A rolling cart, a wall-mounted pegboard and a closet with shelves can hold a surprising amount, especially in a guest room or the corner of a loft.
A folding table that tucks away, or a desk that doubles as a craft surface, works as long as supplies live within a step or two. Keep the most-used supplies on the cart and the rest in closet bins.