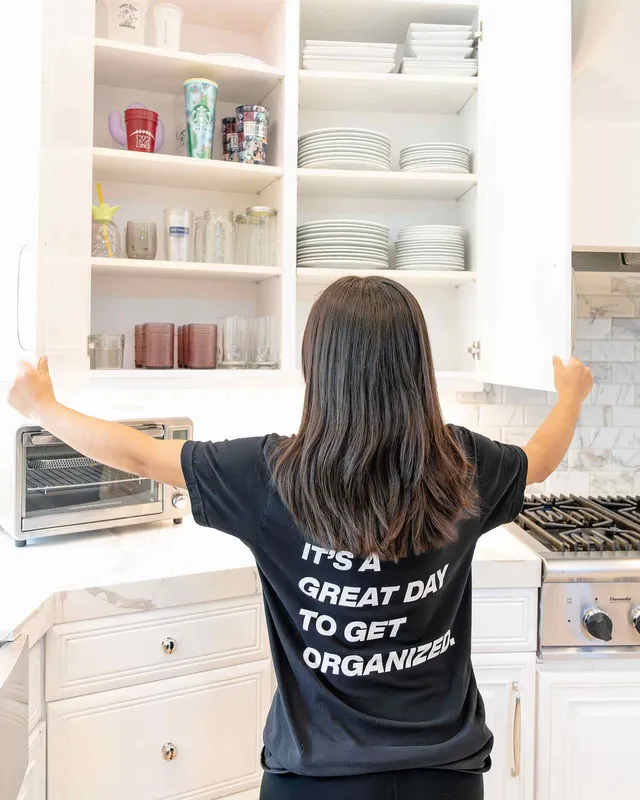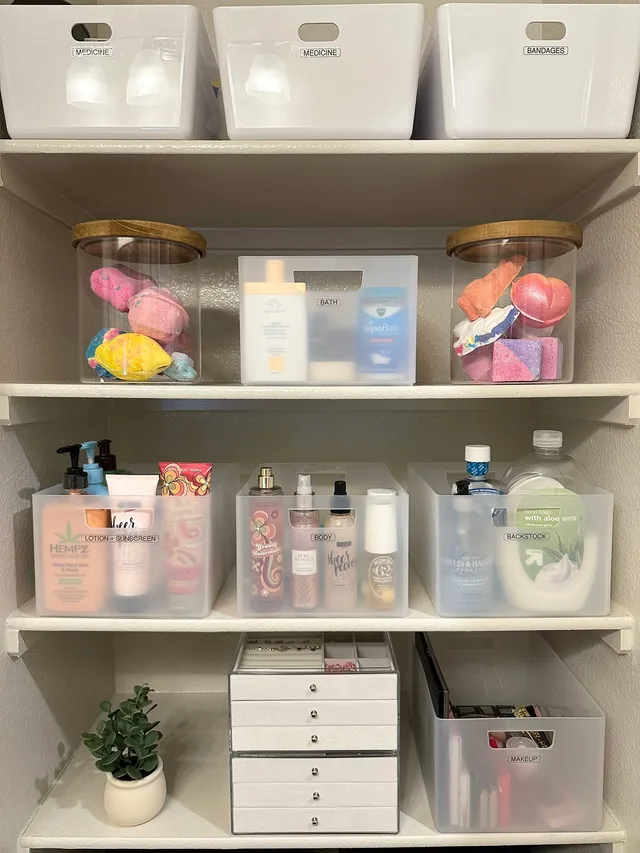
The first half hour sets the direction
The session begins with a short walkthrough. You show the team the space, point out what bothers you and share anything off-limits. The lead organizer confirms the plan from the consultation and adjusts if anything has changed.
This is also when you mention your schedule for the day, any calls you need to take and where the team can stage items.
A typical full day, step by step
Every project is different, but a full-day session often follows a rhythm like this one.
The middle stretch, sorting and editing, usually takes the most time, because that is where decisions happen. Setup and labeling tend to move quickly once categories are settled. On a four-hour session the same steps apply, just to a smaller space or a narrower goal, such as a single pantry or a reach-in closet.
Step by step
- Walkthrough and goals
Confirm priorities, off-limits items and the staging area.
- Empty and sort
Pull items out and group them by category so volume is visible.
- Edit together
You decide what stays; donations and discards are bagged separately.
- Plan the zones
Place categories by how often they are used and who needs to reach them.
- Install and label
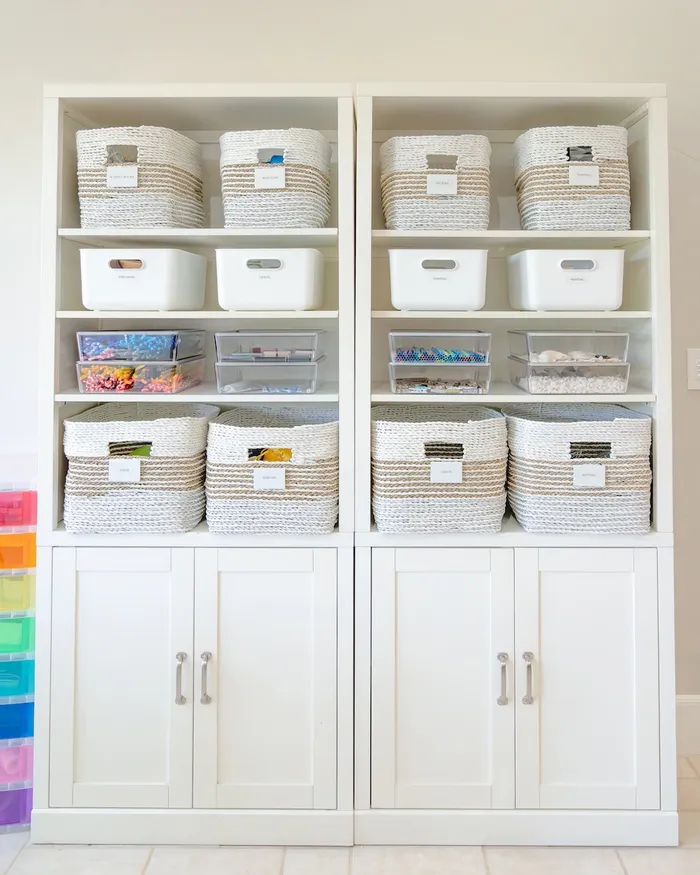
Add bins, dividers and risers where they help, then label categories.
- Reset and walkthrough
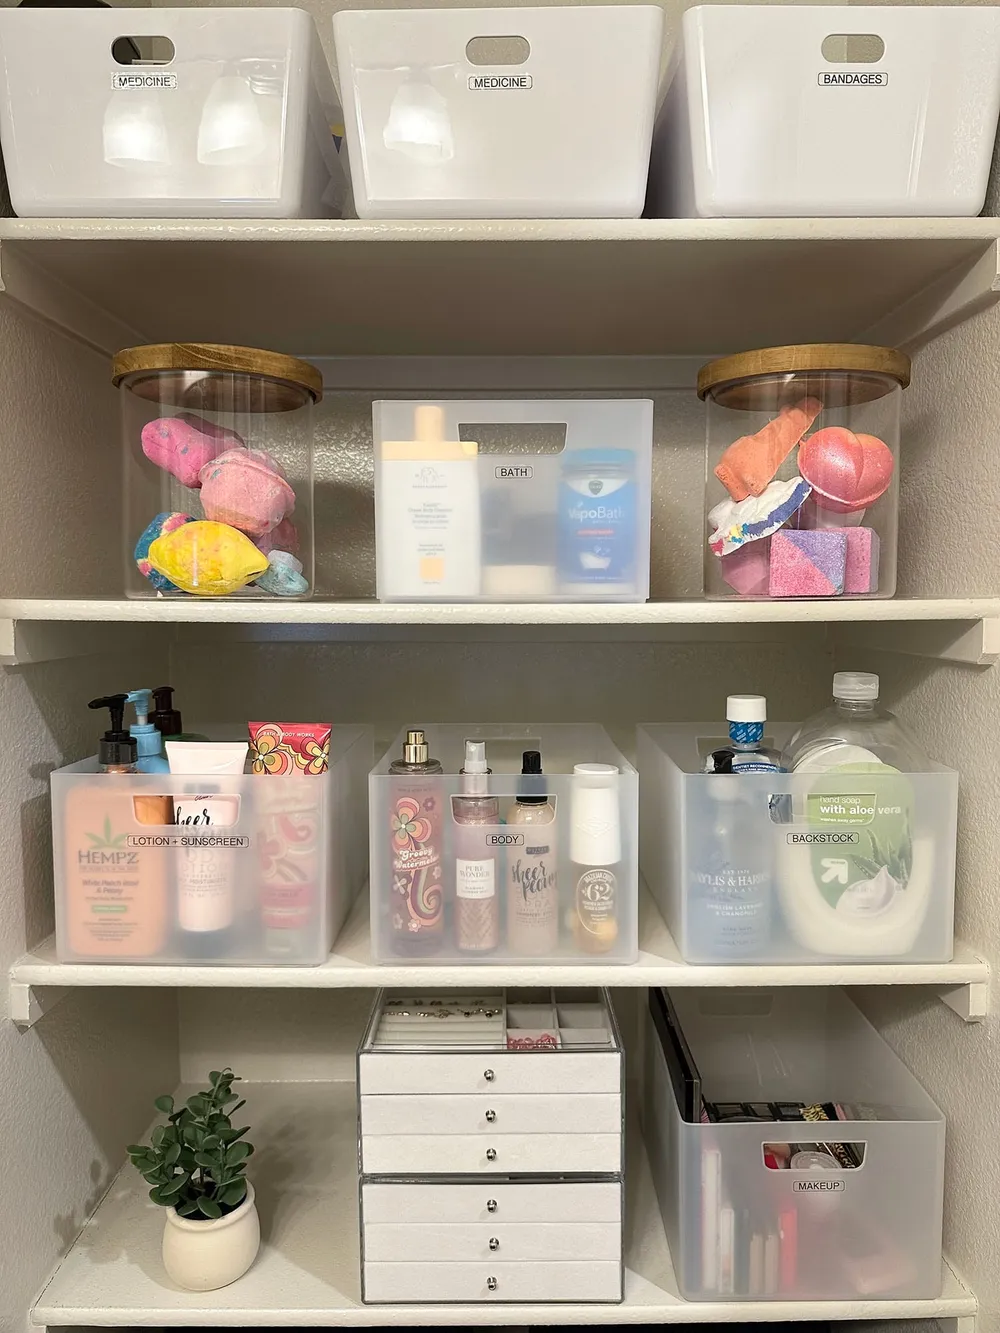
Style the space, clear packaging and review the system with you.
Your role during the session
You are the decision-maker. The team presents items by category, and you decide what stays. Expect lots of quick yes-or-no questions during the edit, then fewer once setup begins.
It is fine to take breaks. Decision fatigue is real, especially with clothing, paperwork and sentimental items. The team will keep working on setup while you rest.
- Answer questions about how you use the space
- Make keep, donate, sell and discard calls
- Weigh in on zone placement for high-use items
- Approve any product purchases

What the house looks like midway through
Organizing gets messier before it gets better. Around the middle of the session, items will be spread out in categories across your staging area. This is normal and a sign the process is working.
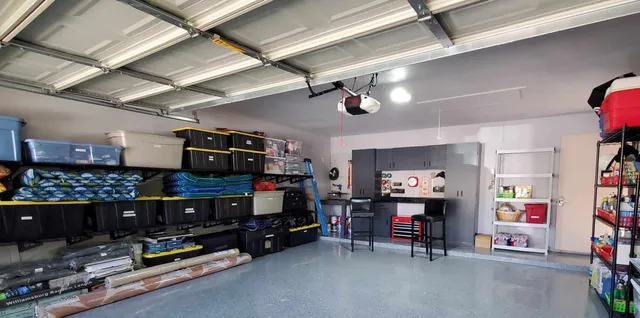
In Las Vegas, staging location matters. In summer, the team keeps everything indoors and cool. For garage projects, which run mid-October through April, the driveway often becomes the staging zone.
How the day wraps up
The last part of the session is finishing: products are installed, labels go on, and the space is styled so it looks calm and works well. Packaging from new products is removed, and donations are bagged and staged.
Then comes the walkthrough. The team shows you the zones and explains how to reset them. For tips on keeping it that way, read how to stay organized after a professional organizer.
| Left with you | Handled by the team |
|---|---|
| An organized, labeled space | Packaging and empty boxes removed |
| Items set aside for selling | Donations bagged and ready to go |
| A clear sense of how to reset | Unused products returned later |