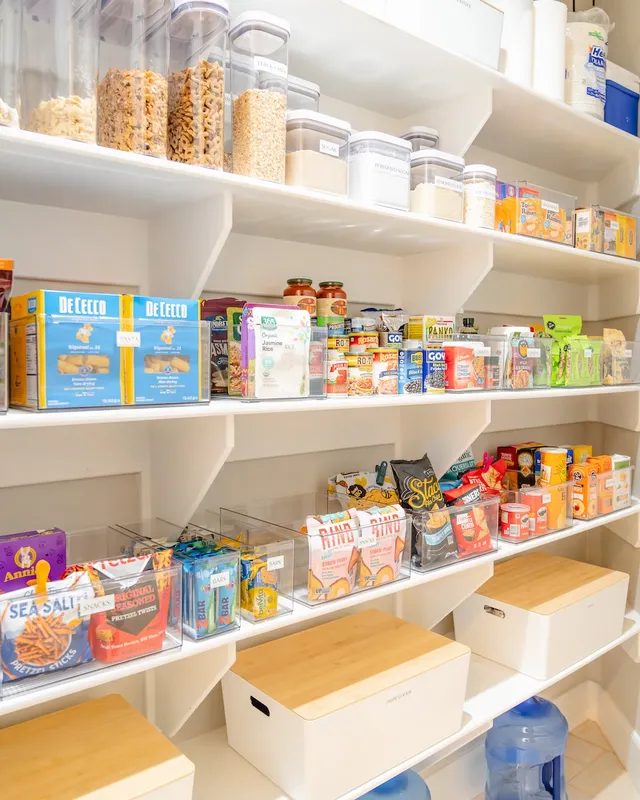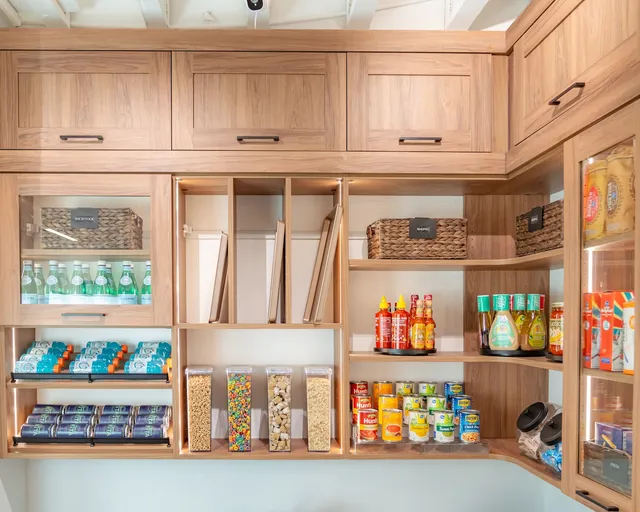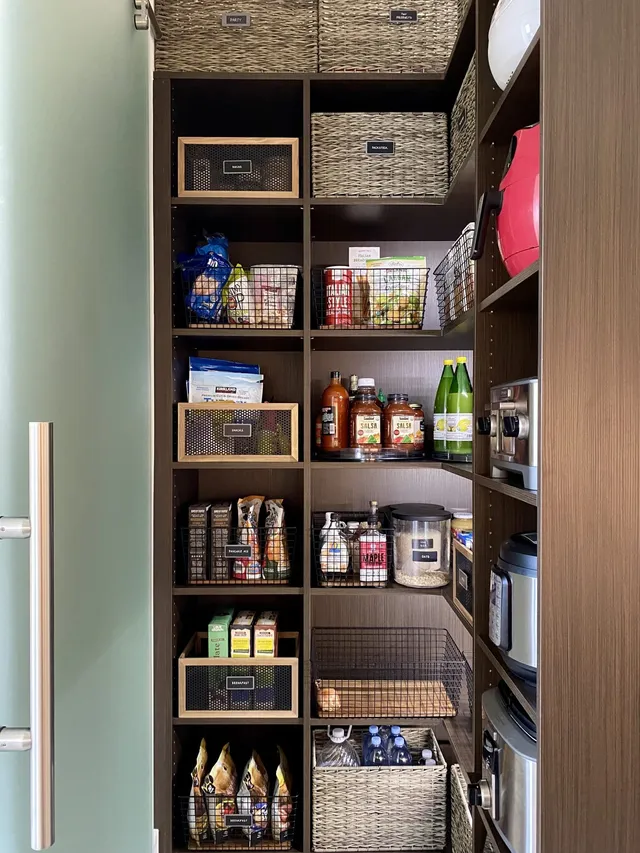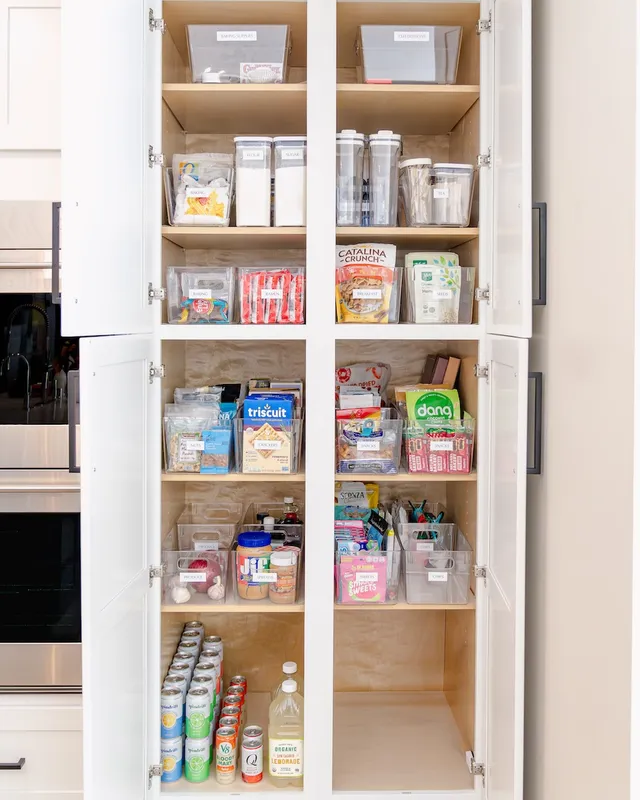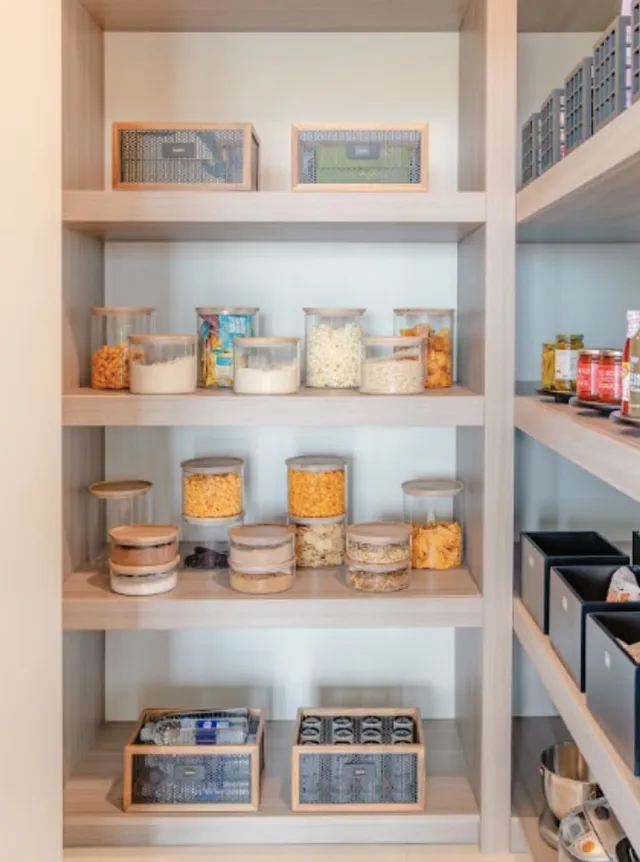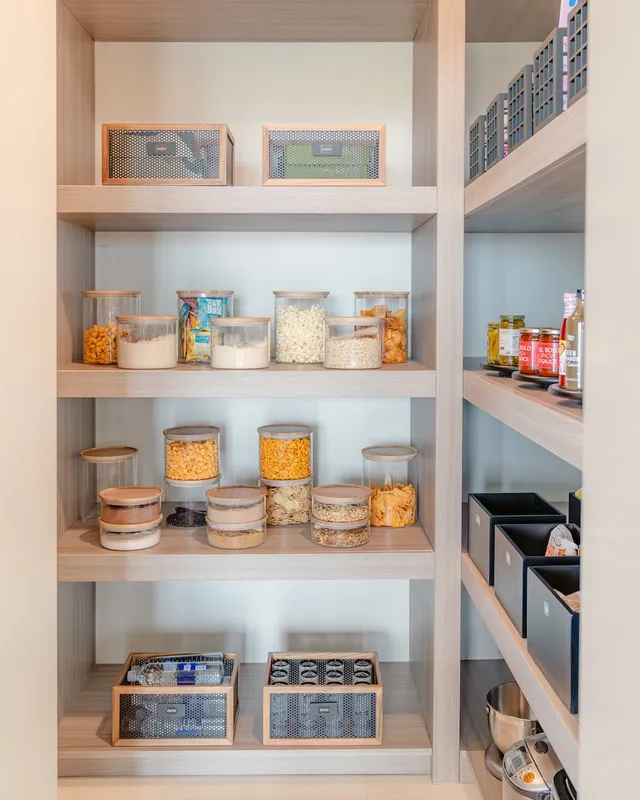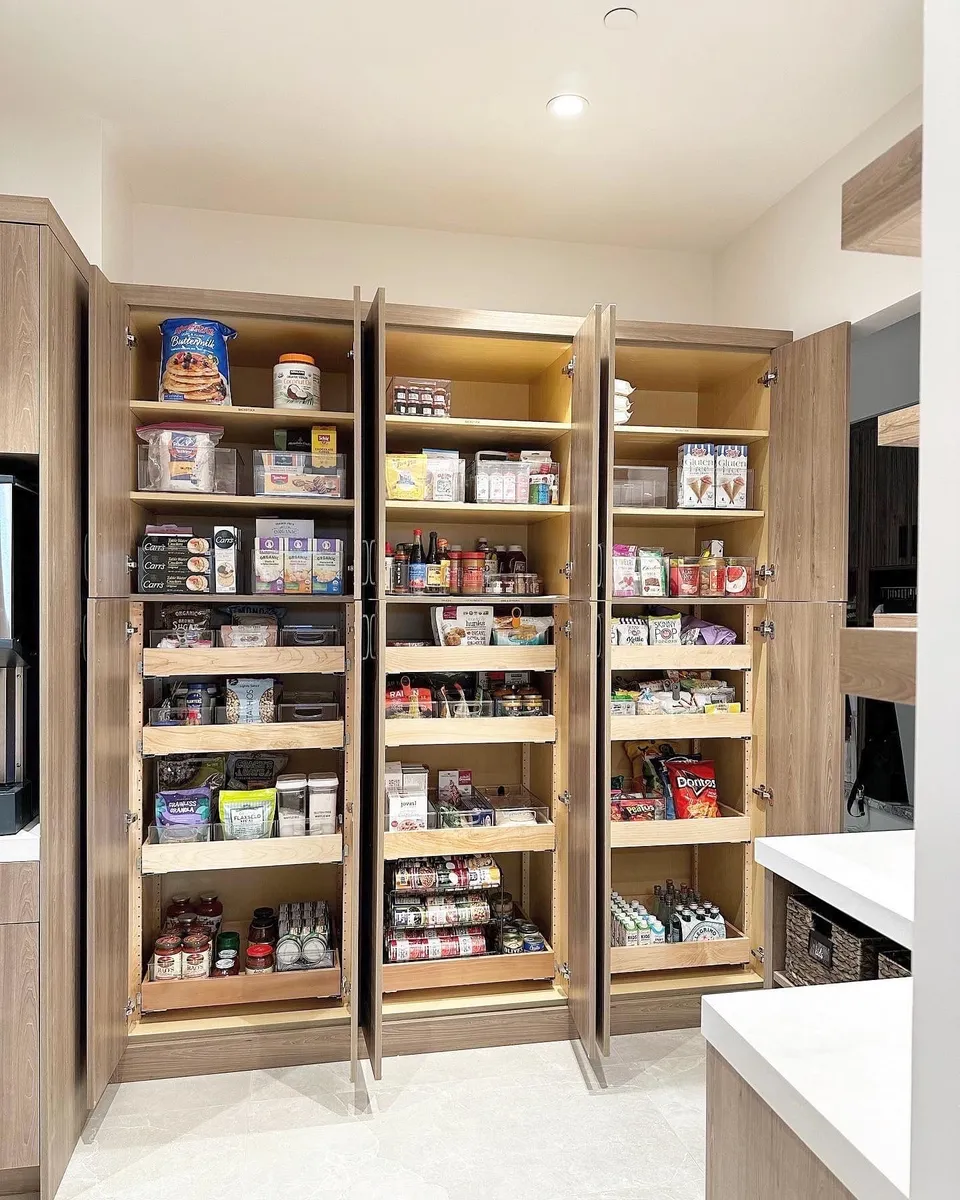
Organize by zones, not by product type alone
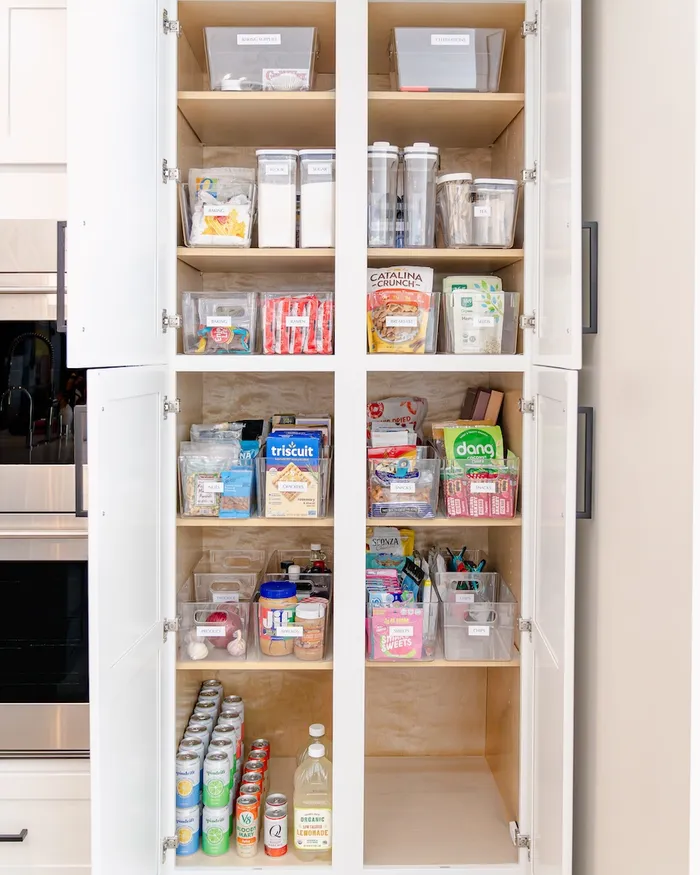
A pantry works when each shelf answers a question, such as "what do we eat for breakfast" or "what do I need to bake." Zoning by meal and activity beats lining up every can together, because it puts the things you use together in one reach.
Common zones are breakfast, baking, grains and pasta, canned and jarred goods, snacks, oils and vinegars, and backup stock. A family with young kids may add a lunchbox zone; someone who hosts often may want an entertaining shelf with crackers, napkins and nuts.
- Breakfast: cereal, oats, nut butters, coffee overflow
- Baking: flour, sugars, chips, extracts, sprinkles
- Dinner staples: pasta, rice, grains, sauces, broth
- Snacks: kid-reachable for everyday, higher for treats
- Backup stock: unopened duplicates on the top shelf
Match shelf height to how often you reach
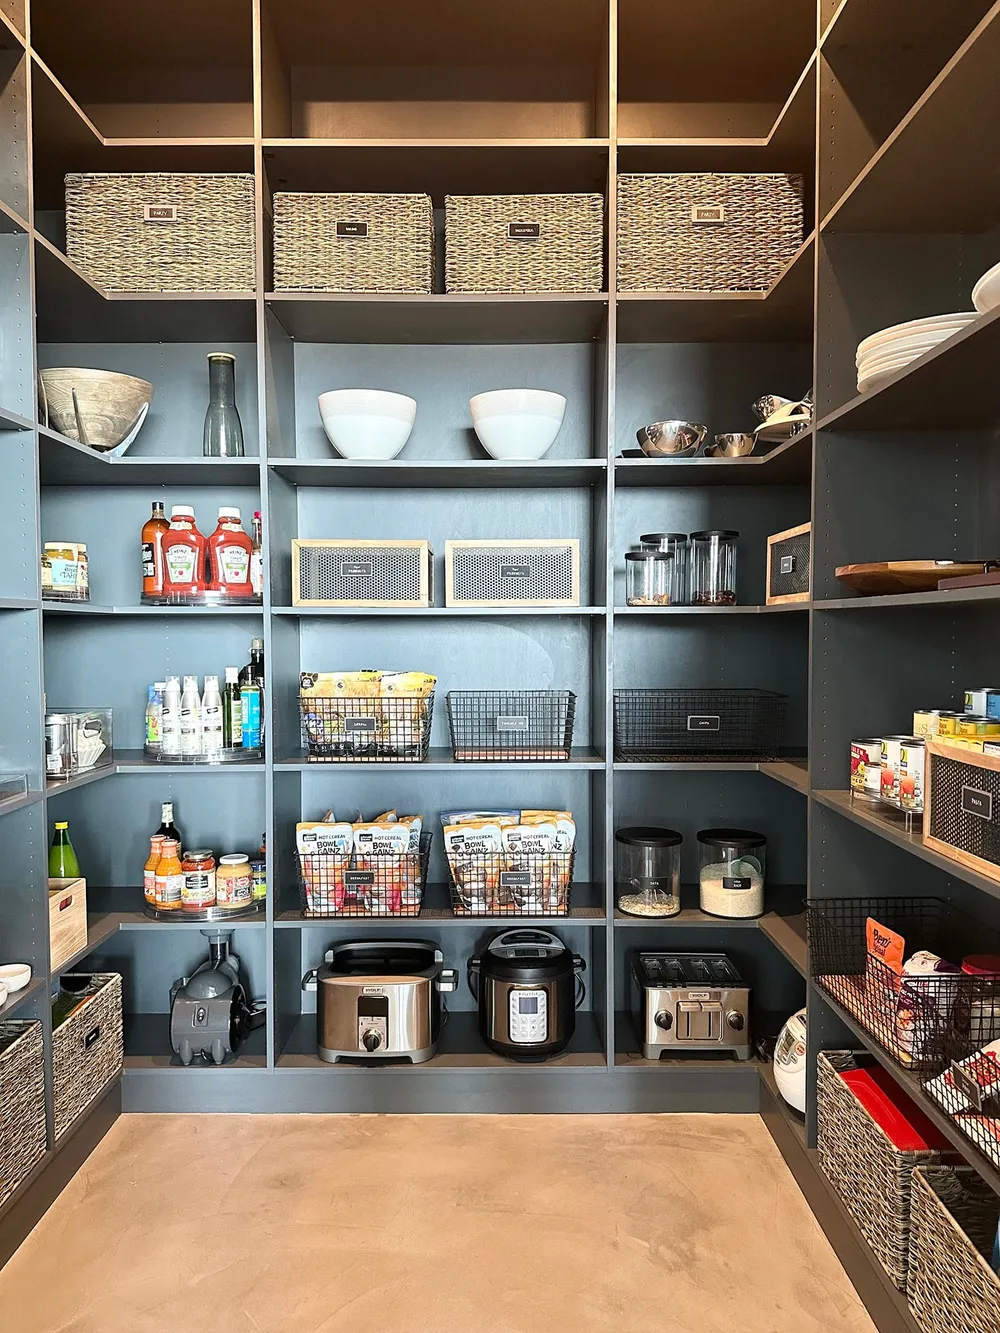
The prime real estate is the band between your shoulders and hips. Put the zones you touch daily there, and push anything you use monthly or seasonally to the top shelf or the floor.
Heavy items such as bulk rice, potatoes in a breathable bin, flats of water and small appliances belong on the floor or the lowest shelf. Lifting a 20-pound bag over your head is how things end up left on the counter.
Step by step
- Empty everything
Take every item out and wipe the shelves. You cannot plan a space while it is still full.
- Check dates and edit
Toss expired food, set aside unopened items you will not eat for a food bank, and combine duplicates.
- Group into zones
Sort what remains on the counter into meal and activity groups so you can see the size of each one.
- Assign shelves
Place daily zones at eye level, heavy items low and backup stock high, then measure each shelf.
- Contain and label
Add bins, canisters and risers sized to those measurements, then label each container by category.
- Live with it for two weeks
Notice what keeps landing in the wrong place and adjust; a pantry usually needs one small tweak after setup.
Choose containers by shelf depth before you shop
Measure first. Most reach-in pantry shelves are 12 to 16 inches deep, while walk-in pantries often run 16 to 20 inches. Buy bins that use most of that depth so nothing hides behind them, and leave about an inch of clearance above for lifting.
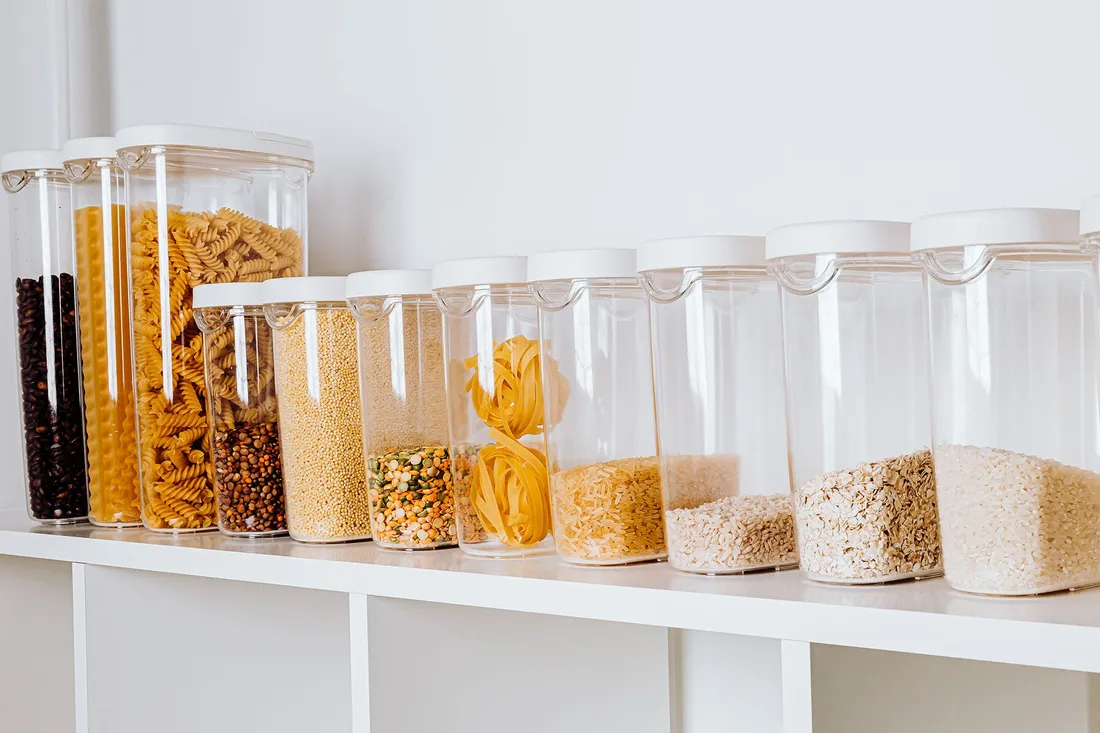
Clear bins work for snacks and packets because you can see what is running low. Lidded airtight canisters suit flour, sugar, rice and cereal. Turntables, usually 9 to 12 inches across, are ideal for oils and sauces in corners, and tiered risers let you read every can label at once. Our guide to what organizing products to buy breaks down the options.
Plan for Las Vegas heat, dust and pests
In the valley, pantries that share a wall with the garage or face west can run noticeably warmer than the rest of the kitchen in July and August. Keep chocolate, oils, nuts and whole-grain flours on the coolest shelf, away from that wall, or move them to the refrigerator for summer.
Fine desert dust settles on open shelves, so lidded bins for loose items make wiping down easier. Warm months also bring pantry moths and ants, and sealed containers for grains and pet food are the simplest defense. For more on this, read keeping pantry food fresh in Las Vegas heat.
Label so everyone in the house can keep it up
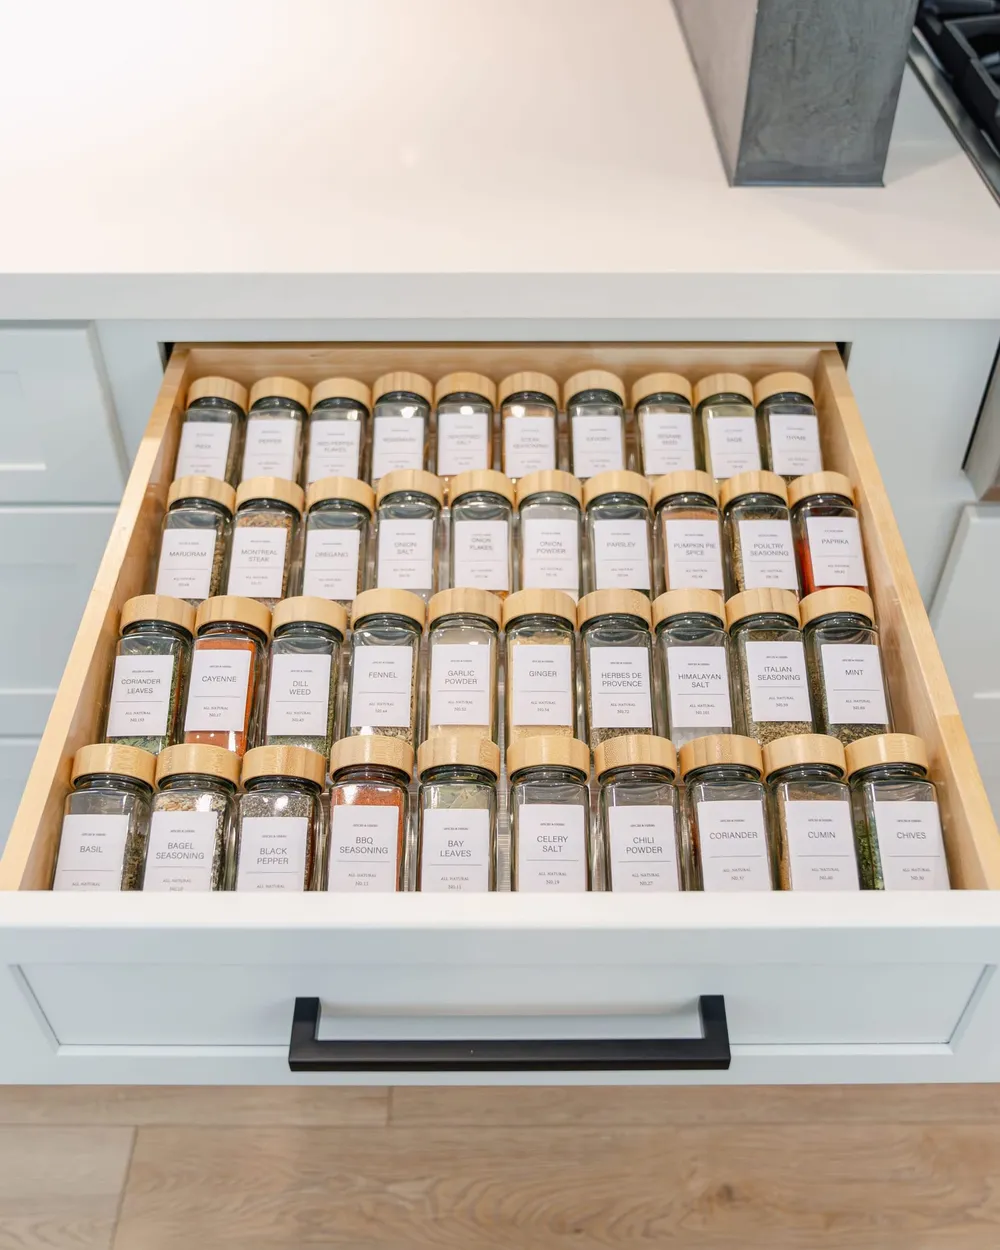
A label turns a nice-looking shelf into a system other people can follow. Label the bin or the shelf edge with the category, not the exact product, so "Pasta" still works when you switch brands.
If you decant, add the expiration date on the back of the canister. For more ideas, see our pantry labeling guide.