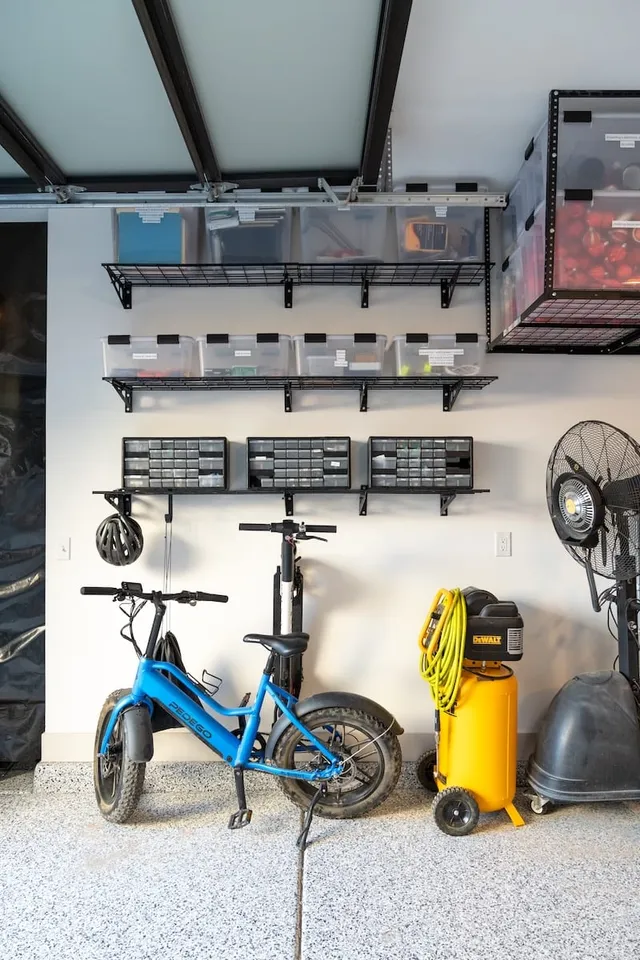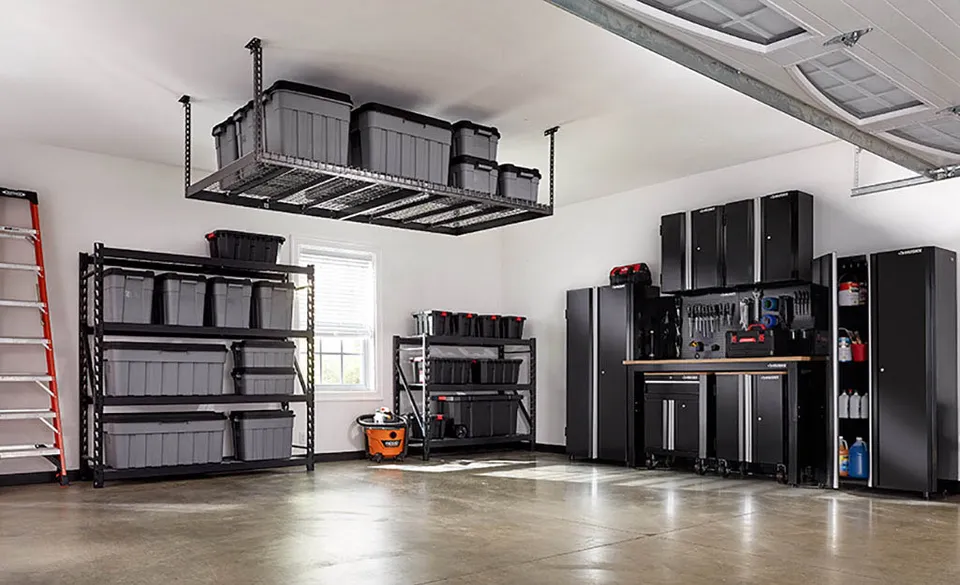
Load shelves by weight from the bottom up
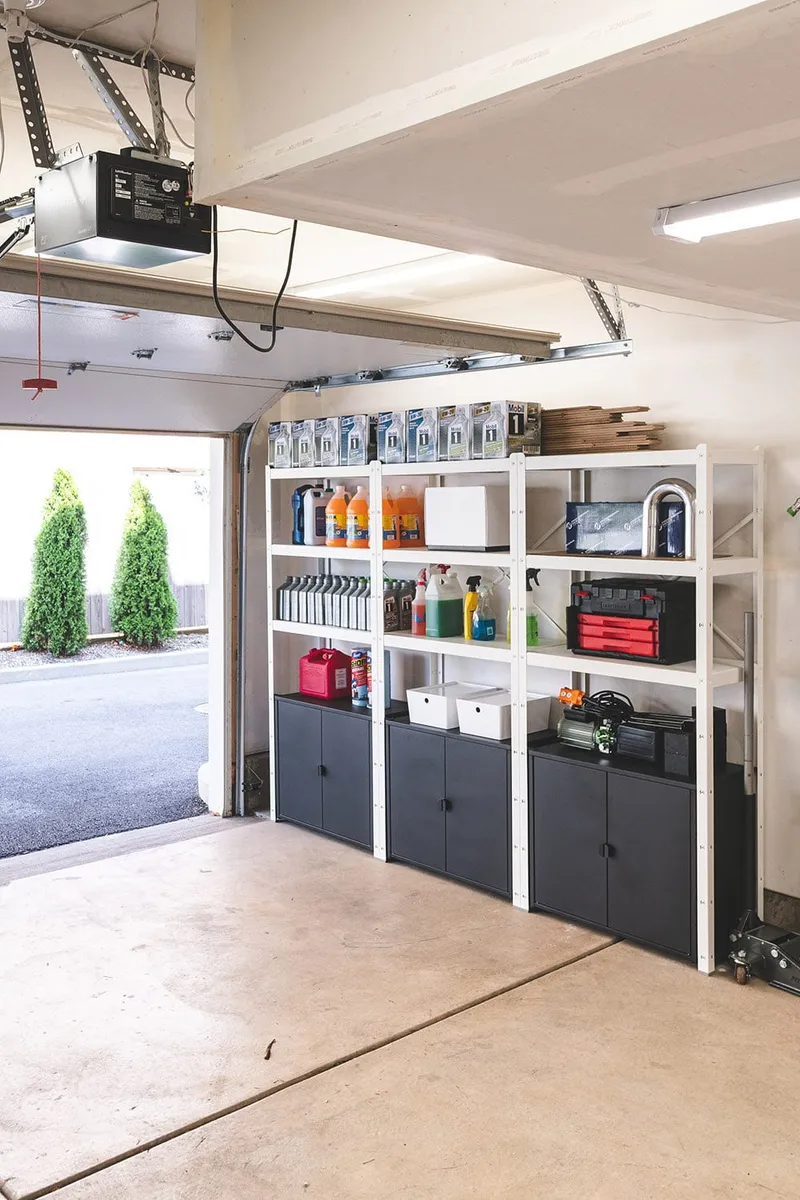
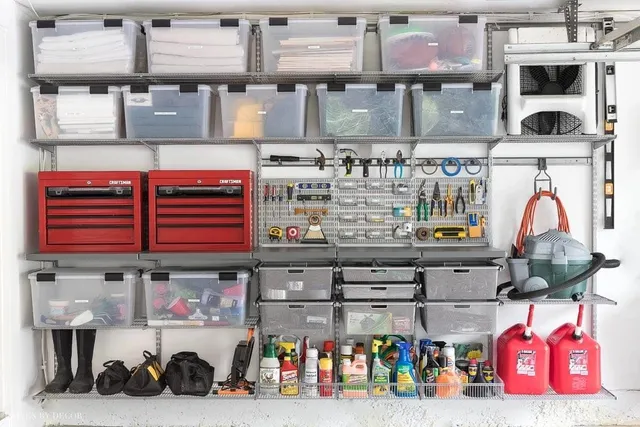
The bottom shelf carries the heavy things: paint you are keeping, bags of potting mix, toolboxes, cases of water if you must keep some outside. Heavy items up high are a falling hazard and make every lift awkward.
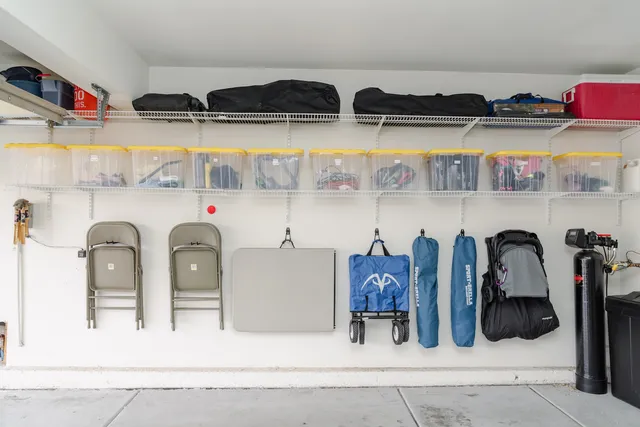
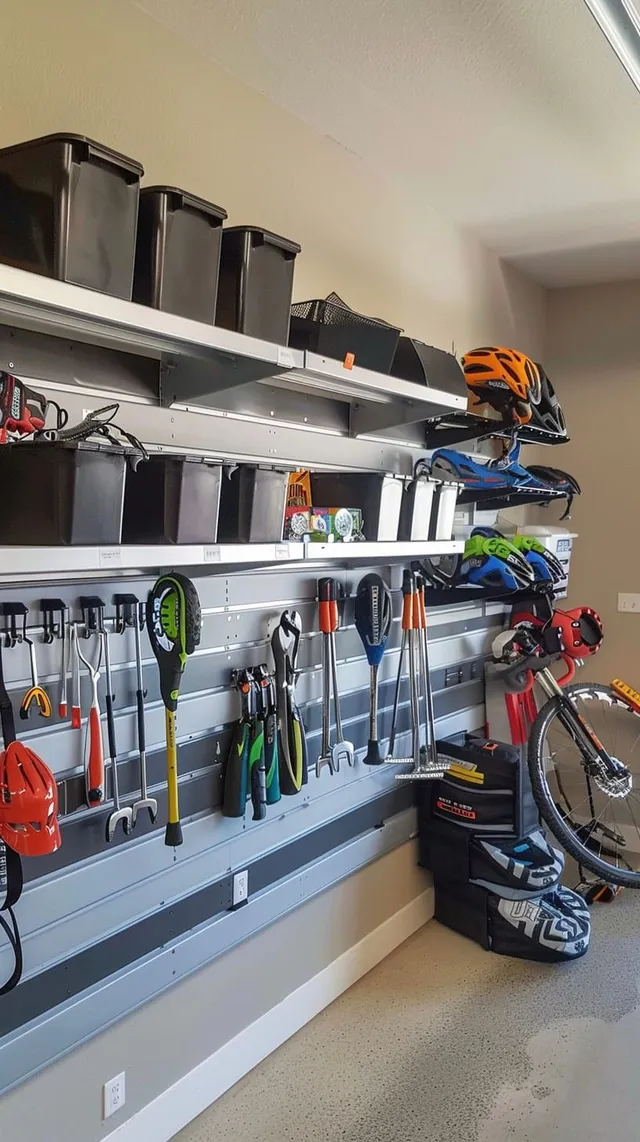
The middle band, roughly hip to shoulder height, is prime space. Give it to the categories you reach for weekly, like car supplies, sports balls or garden gloves. The top shelf is for light, lidded bins you pull once or twice a year.
Match bins to shelf depth before you buy
Most freestanding garage shelving runs 18 or 24 inches deep. Measure the usable depth and the clear height between shelves, then pick a bin whose footprint uses that depth without hanging over the edge.
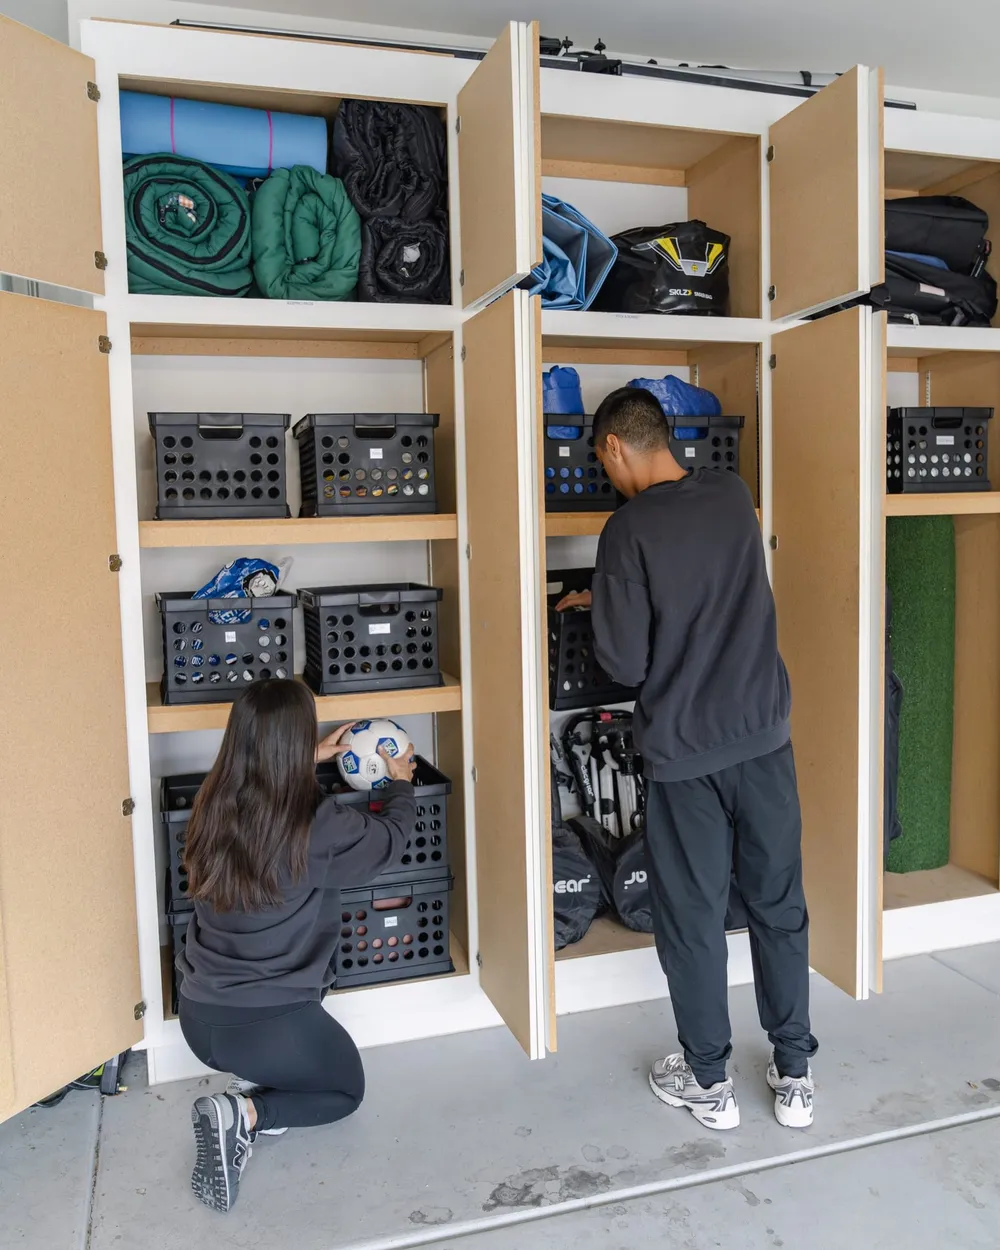
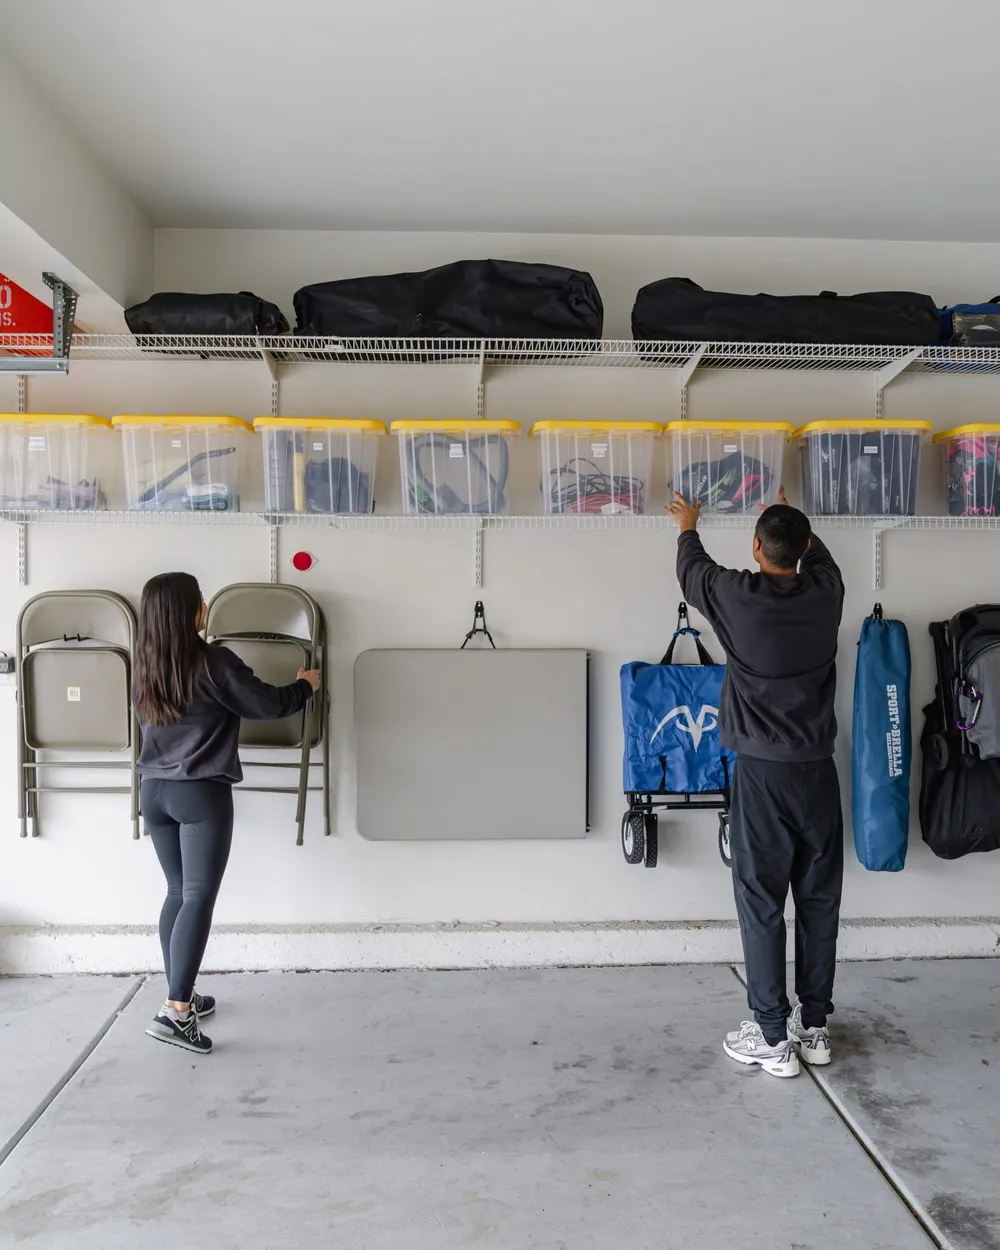
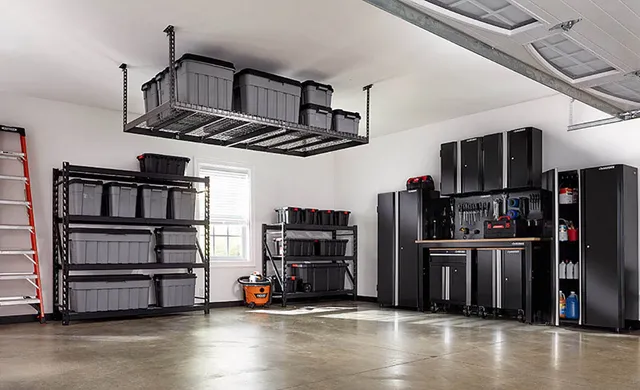
Uniform bins are the single biggest upgrade to a shelving unit. Mixed boxes and odd totes waste vertical space and hide what is behind them. Two sizes, a large for bulky gear and a medium for smaller categories, cover most garages.
| Shelf depth | Bin approach | Good for |
|---|---|---|
| 12 to 16 inches | Shallow bins or open baskets, one row | Car care, hardware, spray bottles |
| 18 inches | Medium lidded bins, one row | Sports gear, garden supplies, auto parts |
| 24 inches | Large lidded bins, or two medium bins front to back with the same category | Holiday, camping, keepsakes that tolerate heat |
Step by step
- Empty and wipe the shelves
Clear the unit, wipe away dust and check it is level and stable.
- Sort what will go on the shelves
Group items by category and edit out anything broken, expired or unused.
- Choose bins and set spacing
Pick bins that fit the depth, then move shelves to about two inches above bin height.
- Load by weight and use
Heavy low, frequent middle, seasonal high, one category per shelf where possible.
- Label and leave a gap
Label bins and shelves and keep some empty space on each unit for new items.
Adjust shelf spacing to the bins, not the factory setting
Shelving units ship with evenly spaced shelves, which rarely suits what you store. Set each shelf about two inches above the height of the bins it holds so lids lift and bins slide out without scraping.
If a unit has five shelves and you only need four, remove one. Fewer, taller openings are better than stacking bins two high, since stacked bins mean lifting the top one every time you need the bottom one.
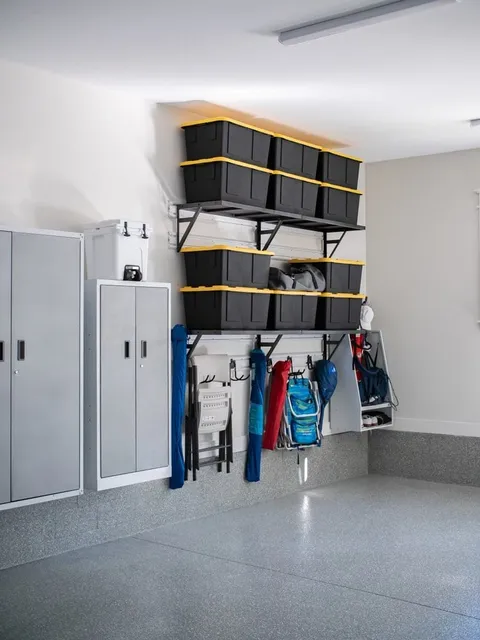
Pick materials that handle heat and dust
Valley garages are hard on shelving. Thin plastic shelves can bow under weight once summer heat softens them, and particleboard swells if a hose drips nearby. Powder-coated steel or heavy-duty resin rated for the load holds up best.
Wire shelves let dust fall through and are easy to wipe, but small items tip on them; a shelf liner fixes that. Anchor tall units to the wall so they cannot tip, and if you are not sure about mounting, a handyman can do it. Learn more on our garage organization service page about how we coordinate that.
Label for the whole household
Labels should be readable from six feet away, on the short end of every bin, with a category word anyone in the house would use. Add a small shelf tag for the category as well, so an empty slot still shows what belongs there.
For bins of mixed small items, a list taped inside the lid avoids digging. When categories change with the seasons, use removable labels or label holders so you can swap them without scraping.
- Good: Camping Kitchen, Pool Toys, Car Wash, Spare Hardware.
- Avoid: Misc, Stuff, Garage, Extra.