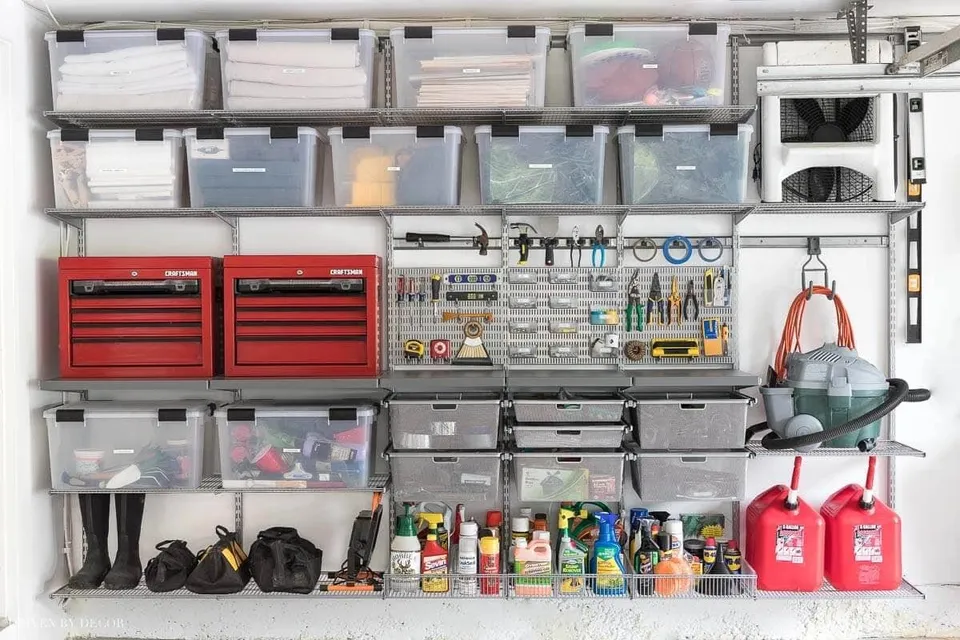
Start with a sort, not a shopping trip
The most common garage mistake is buying shelving first. Until you know what you own and what you are keeping, you cannot know how much shelf length, how many bins or what kind of wall storage you need.
Work one wall at a time if a full empty-out is not realistic. Pull items onto tarps in the driveway, group like with like, and keep a separate area each for donate, trash, recycle, return to the house and hazardous waste.
Edit with a few blunt questions
Garages collect things that have no other home, so the edit is where most of the space comes back. Ask of each item: have I used it in the last year, would I buy it again, and does it survive heat?
Duplicate tools, dried-out paint, broken patio furniture and boxes from the last move are the usual finds. Options for usable donations in the valley include Goodwill of Southern Nevada, Opportunity Village and the Habitat for Humanity Las Vegas ReStore for building materials. The choice of what goes is always yours.
Step by step
- Clear a staging area
Lay tarps in the driveway and set up labeled zones for keep, donate, trash and return to house.
- Empty one section at a time
Pull a single wall or corner, sort it into categories, then move to the next.
- Edit and get the outgoing pile out before dark
Load donations into the car and bag trash so nothing drifts back inside.
- Plan zones and measure
Assign categories to walls by frequency of use, then measure each zone for shelving or wall systems.
- Install storage, then load it
Set up shelving and wall systems, place bins and hooks, and put each category in its zone.
- Label and do a walkthrough
Label bins and shelves, then show everyone in the house where things now live.
Map zones by how often you reach for things
Once you know what stays, place categories by frequency of use. Things you grab weekly go at waist to shoulder height near the door into the house. Seasonal items go up high or deep in a corner, and the floor stays as clear as possible.
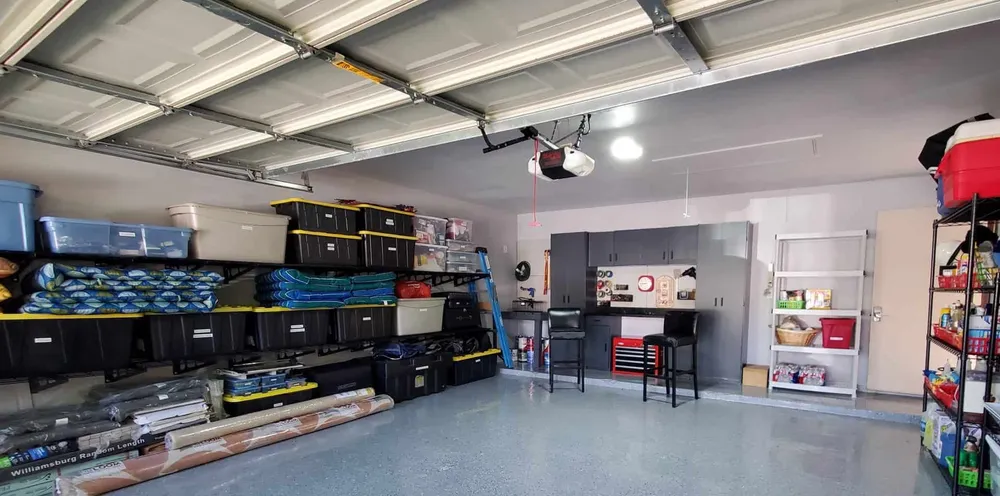
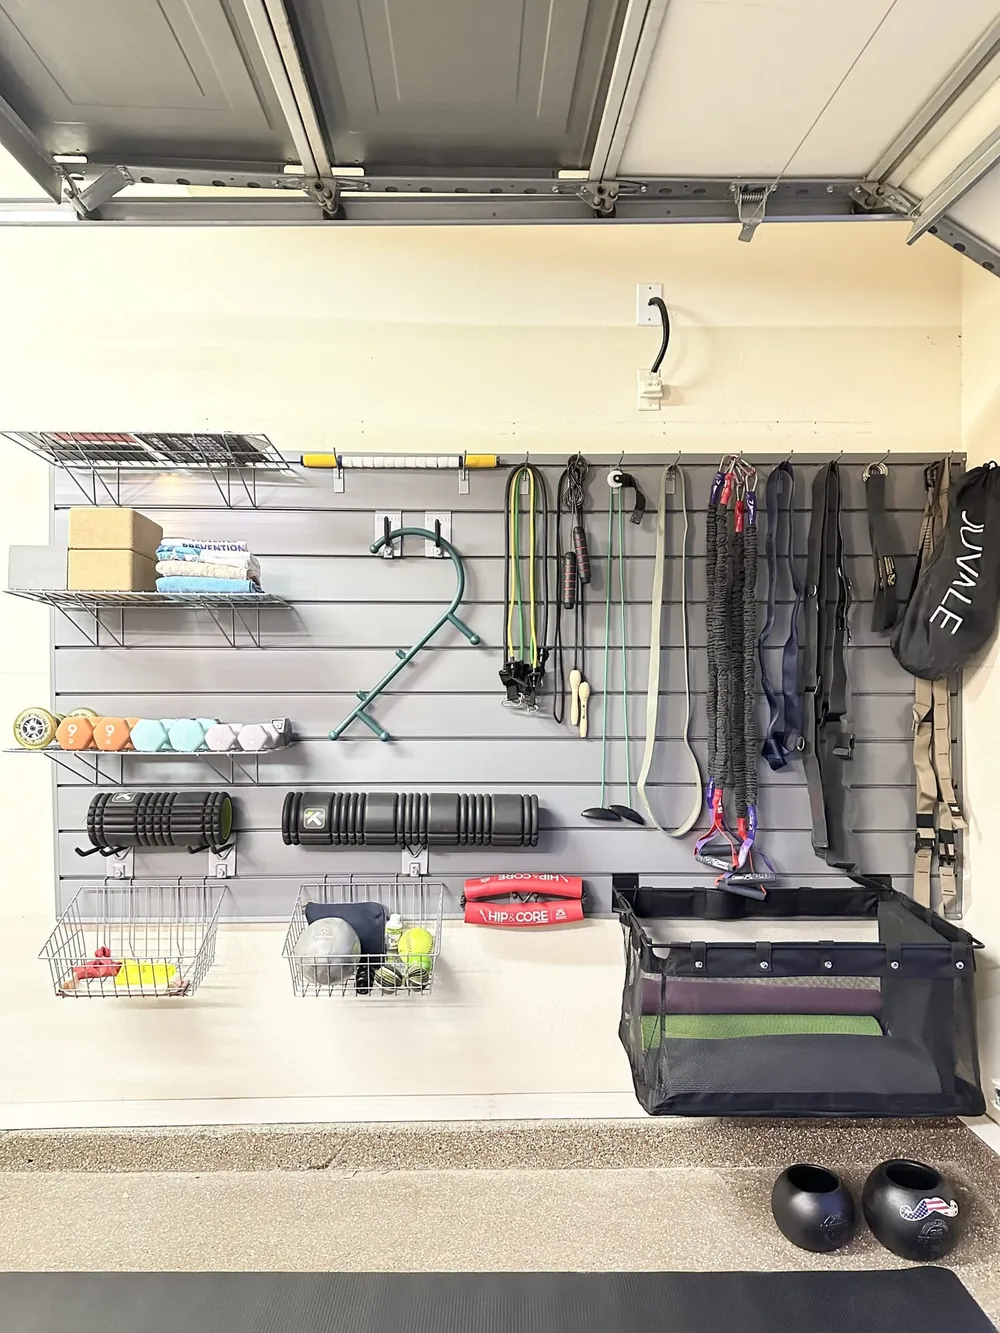
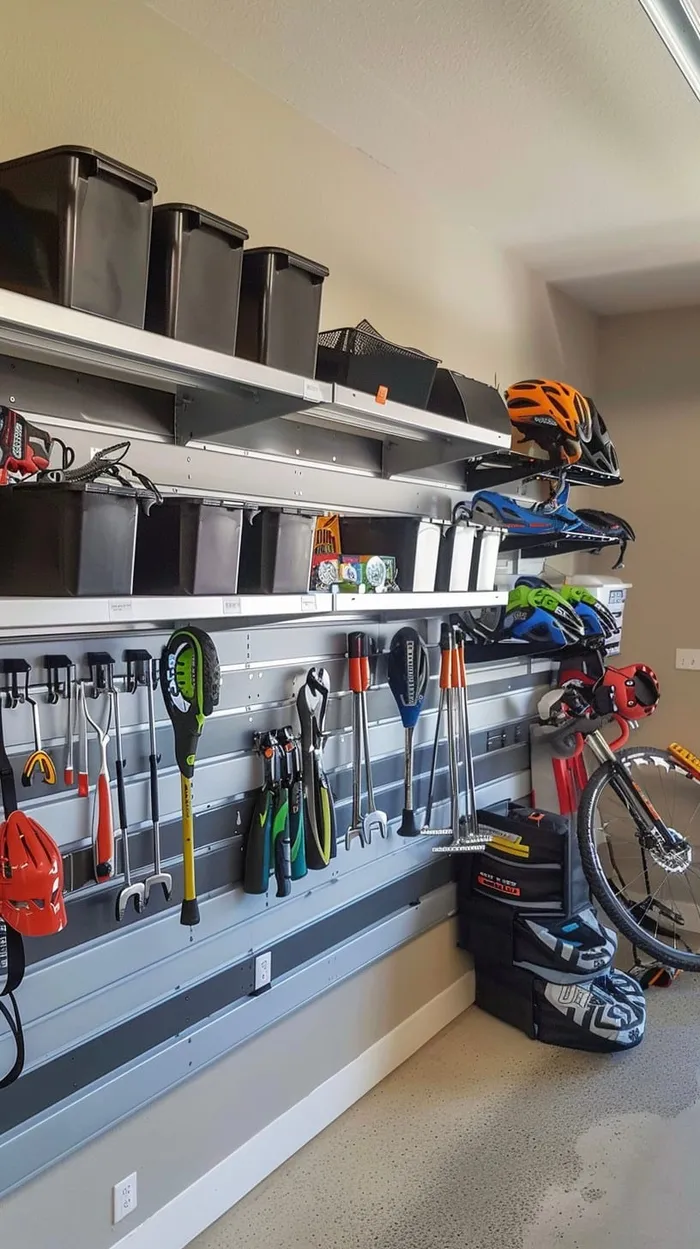
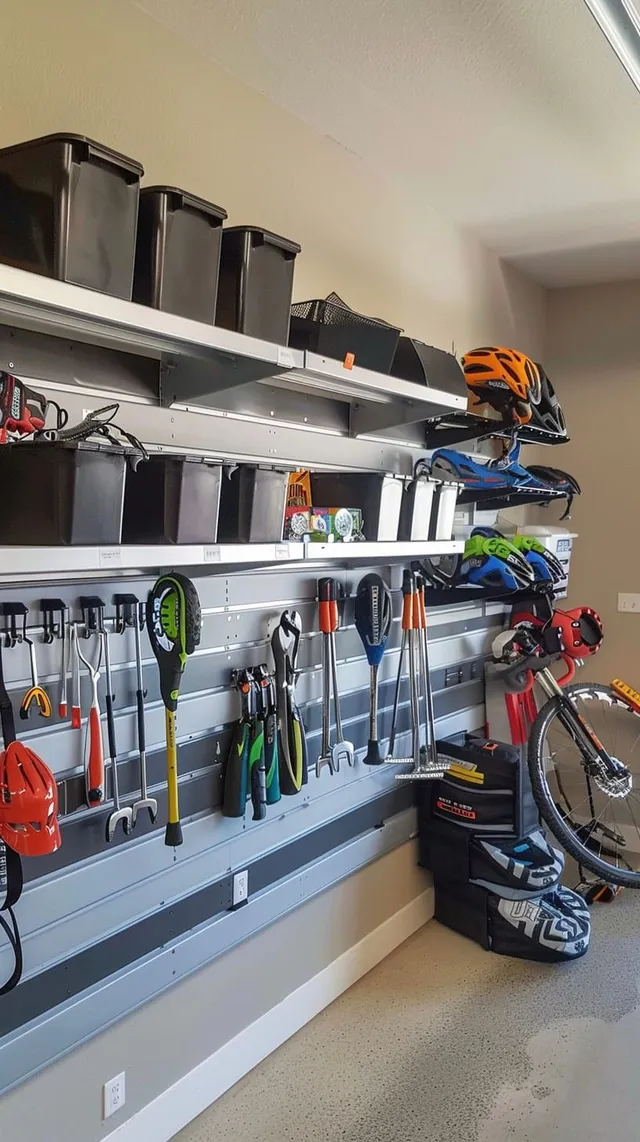
A typical layout gives one wall to tools and projects, one to sports and recreation, a corner to garden and pool, and overhead space to holiday bins. Our page on garage zones explained goes deeper on choosing and sizing each one.
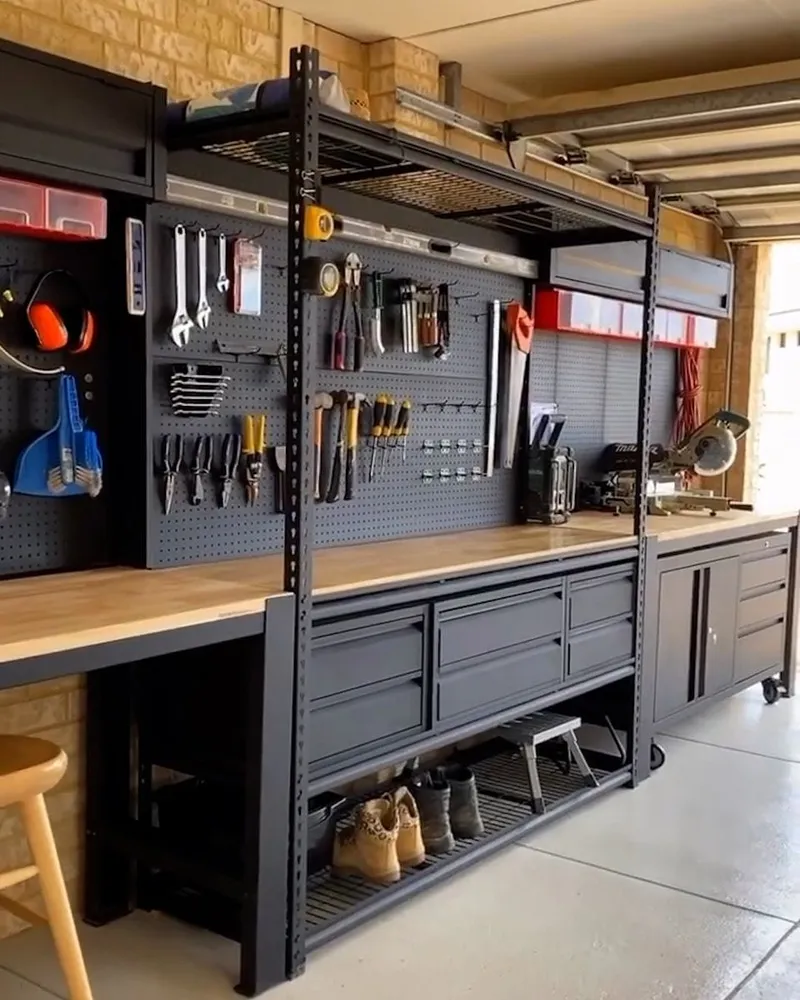
Choose products that suit desert conditions
Heat and dust shape the product choices here. Steel or heavy-duty resin shelving holds up better than thin plastic, which can sag and crack after a few summers. Lidded bins with a good seal keep fine desert dust off holiday décor and camping gear.
Look for these by type rather than brand:
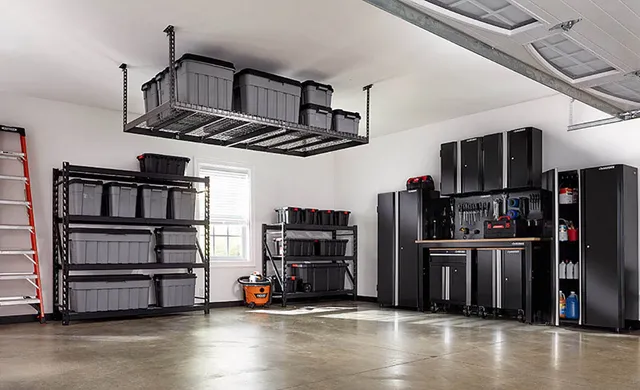
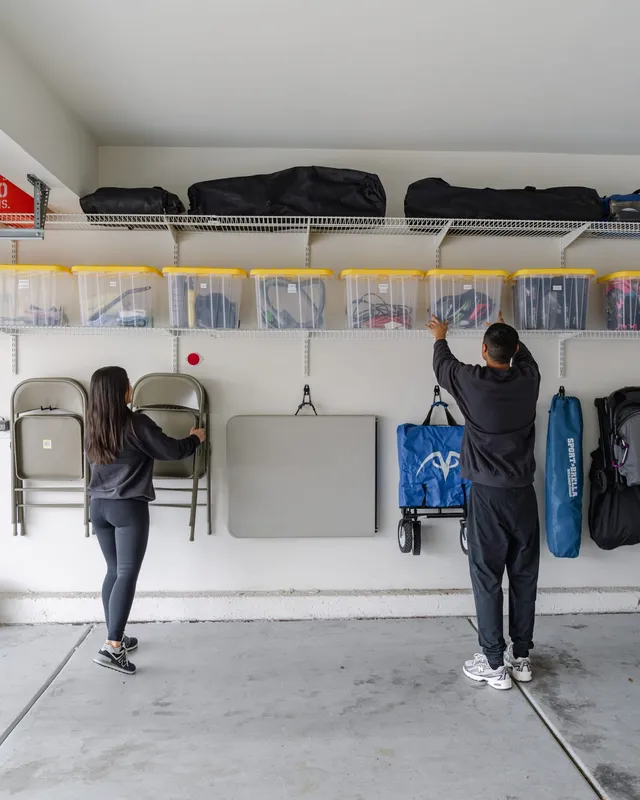
- Freestanding steel shelving, 18 to 24 inches deep, for bins.
- Wall panel or track systems with hooks for tools, bikes and cords.
- Uniform lidded bins in one or two sizes so they stack and fit the shelf depth.
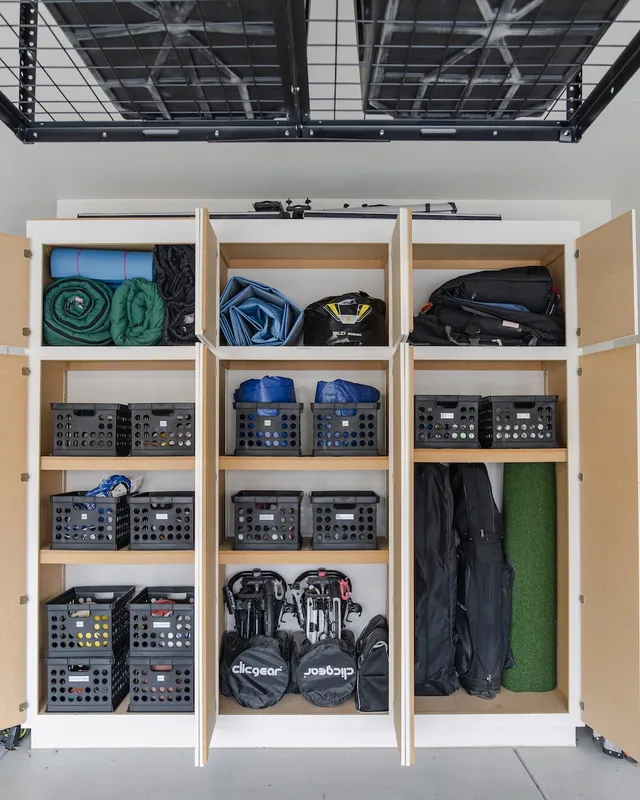
- Ceiling-mounted racks for low-use bins, kept clear of the garage door track.
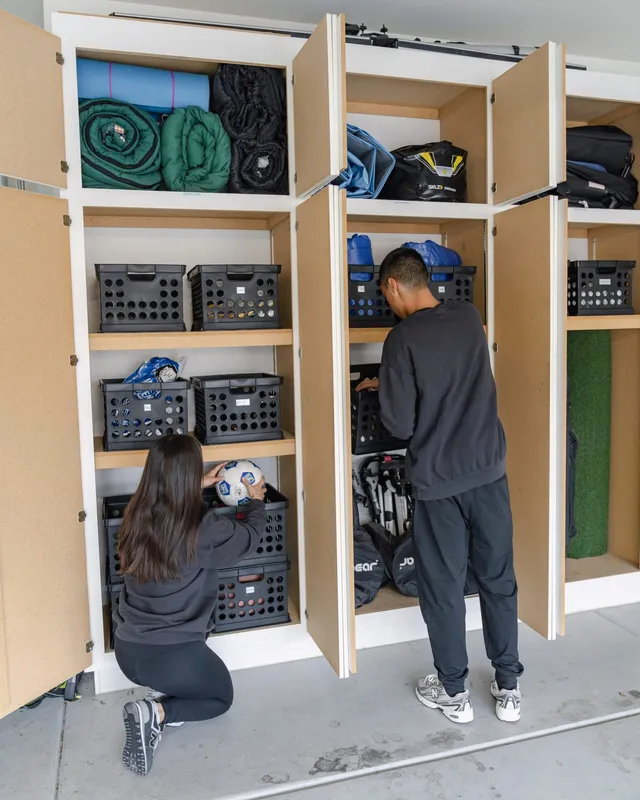
- A closed cabinet for chemicals and paint, off the slab.
Label and leave room to grow
Label every bin on the short end that faces out, using large text you can read from the car. Use category names that everyone in the house understands, like Camping or Pool Toys, rather than vague ones like Misc.
Leave roughly a fifth of shelf space empty. A garage that is 100 percent full on day one will be overflowing within a season, and empty space is what makes the next purchase easy to put away.